Clothes mending is a skill that’s been handed down from generation to generation since the beginning of time. However, thanks to the rise in fast fashion, it’s a tradition that’s faded, with people opting to buy new rather than mend their clothes.
We’re here to change that! Clothes mending is an incredibly important skill to learn. It’s great for the planet, great for your bank balance and will give you a newfound appreciation for your garments.
In this guide, we’re going to cover all the clothes mending techniques you can think of. From the Japanese art of mending clothes to visible and invisible mending. This is your one-stop fixing shop!
Grab your needle and thread, it’s time to mend.
Why is mending your clothes important?
Fast fashion is causing an environmental disaster. Millions of items end up in landfills every year, and it’s only set to increase.
The world uses an estimated 80 billion pieces of clothing every year, a 400 percent increase from two decades ago.
The True Cost
One way of combating this increase is by reducing the amount of clothing we buy and instead making the most of what we already own. This is where mending comes in!
By learning how to mend your clothes, you’ll be able to fix damaged pieces and rewear them for years to come. This will keep them out of landfill and hopefully encourage you to buy less (mending saves you money too, so it’s a win-win!)
Mending clothes isn't all about returning garments to their original state, though. There are lots of fun, inventive ways to give your clothes a new lease of life. We’ll cover some of these quirky and colourful methods later on.
First, let’s get you a clothes mending kit!
What you need to mend clothes
What you need to mend your clothes will depend on the items you want to repair. Most garments will be made of fabric (jersey, cotton, linen, denim), so you will need sewing tools in order to fix them.
However, if you’re repairing a wool item (socks, jumpers), you may also need yarn that matches your material. There are some other specialist items too, you may benefit from, like a darning mushroom (more on this later).
Keep in mind the garment you’re fixing when you’re choosing your tools. Here are some of the basic tools your mending kit should contain.
Needle and thread
Let’s start with the classics! Needles and thread are a staple part of any mending kit. It’s best to have a variety of both as different garments will need different types of needles and threads.
Needles

Pick up a pack of assorted needles like this set from Hemline. The smallest needles in this pack are perfect for mending tiny rips and holes as they require extremely thin, precise stitches.
The medium needles are ideal for embroidery thread, while the largest needle in the pack can be used for yarn. Having a variation will allow you to mend multiple projects, no matter the size of the damage or the style of mending you’re doing.
Thread
There are a few different types of thread we’d recommend keeping in your stash.
A thin cotton thread

A thin, basic thread is ideal for all mending situations. It’s thin enough not to be noticed, making it great for invisible mending.
There’s plenty of thread colours on the market, but we’d recommend keeping a standard black and white in your kit.
If you have a specific item you want to mend (where you know the stitches, no matter how small, will be visible), then opt for a thread matching the colour of your fabric.
Invisible thread
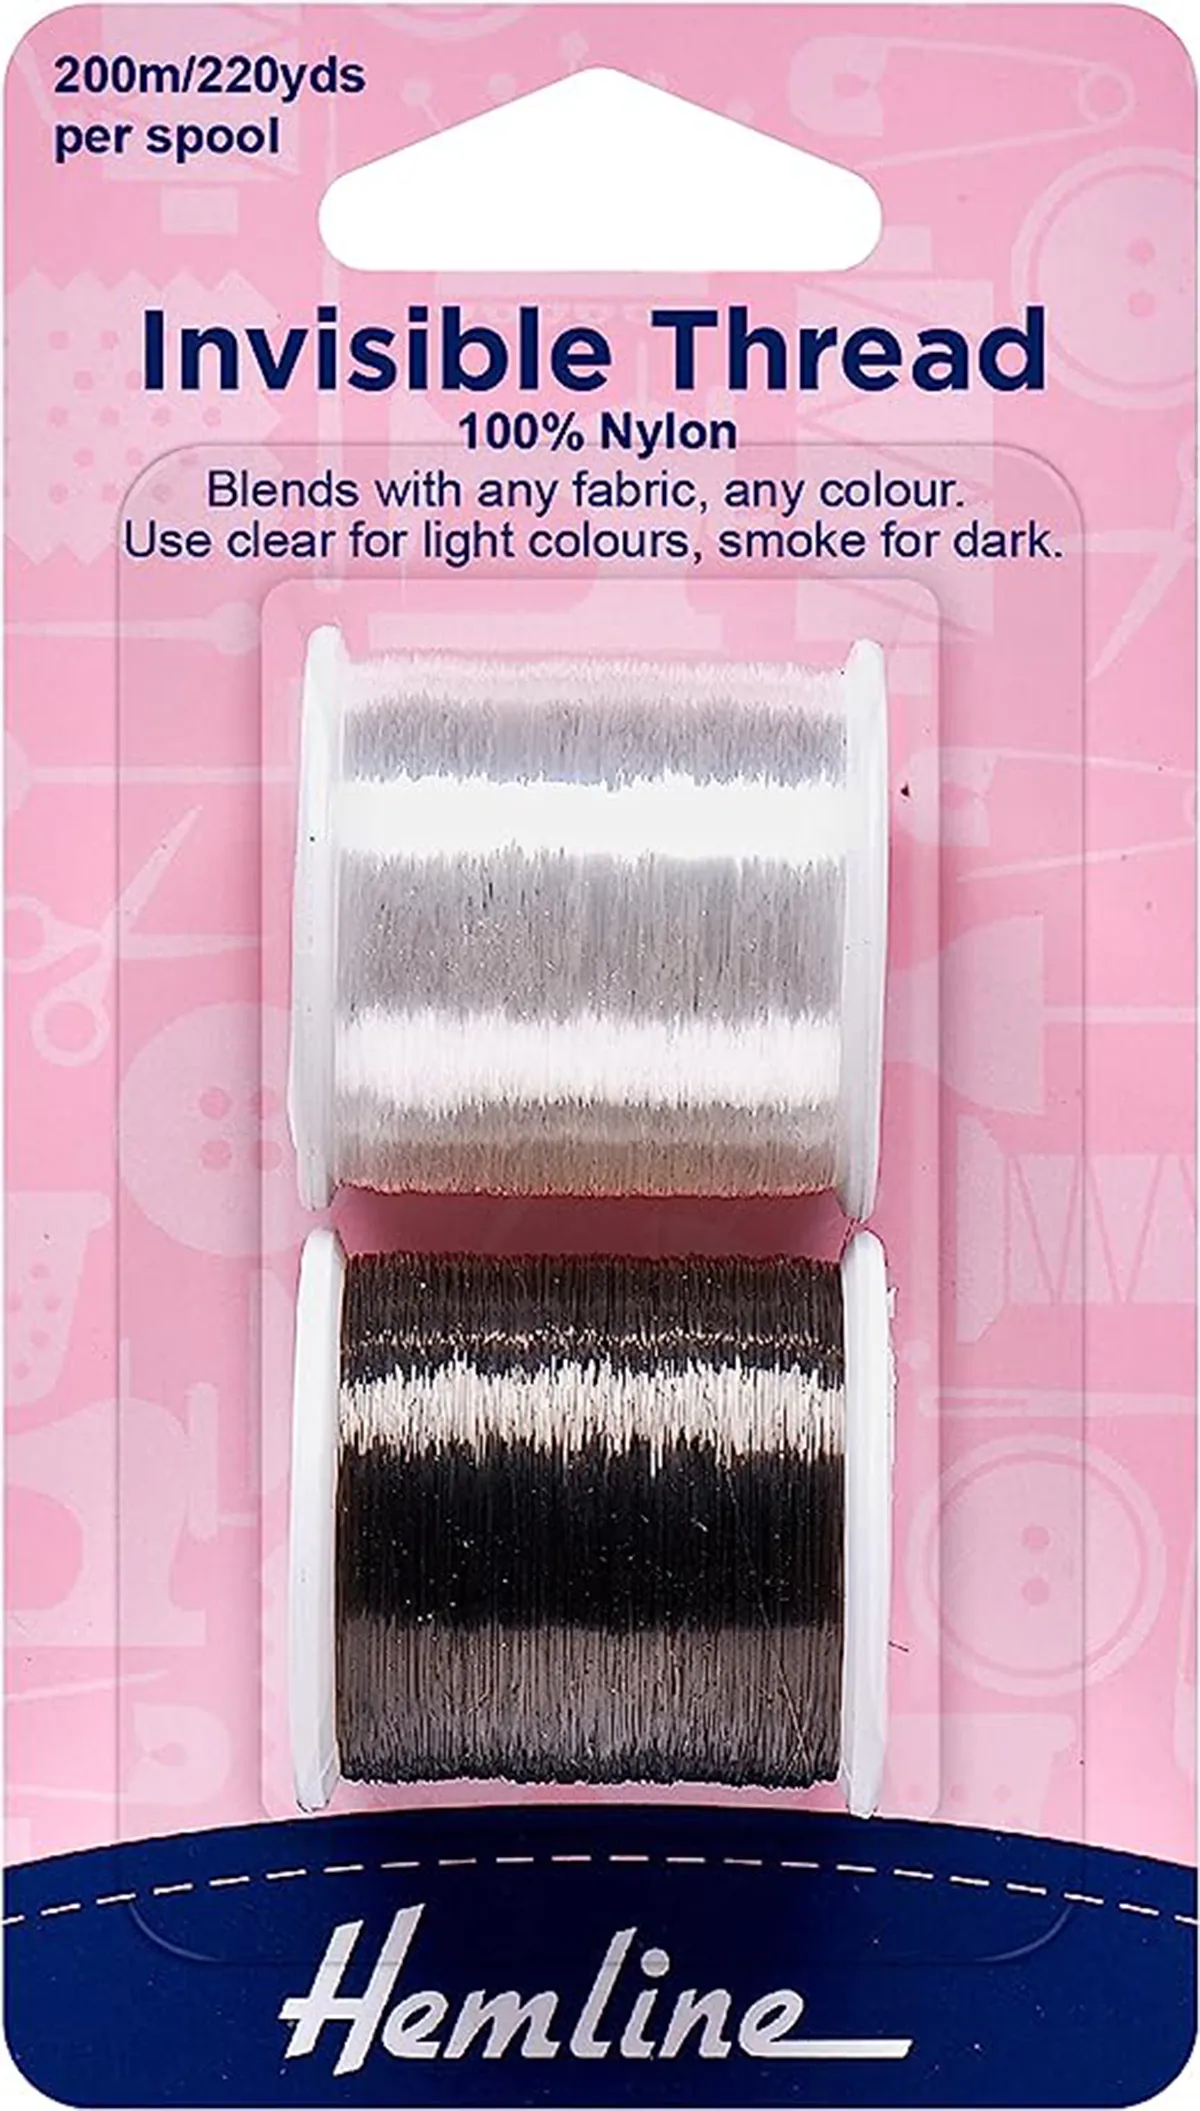
Invisible threads make a wonderful addition to your mending kit. You can guarantee that these threads won’t be seen, and they work well on a huge range of fabric types.
Made from nylon, many invisible threads tend to be quite stretchy and bouncy. When working with this type of thread, make sure you’re not pulling the thread too tight or you’ll risk warping your fabric.
Embroidery threads

Embroidery is a beautiful mending technique, and for this, you’ll need embroidery thread. You can find a huge range of embroidery threads on the market, all at affordable prices. DMC is a particular favourite of ours since it's of such high quality.
If you want to try some of our visible mending techniques or sashiko embroidery, these threads are perfect for either.
Pins

Pins are a mender’s best friend. They help to keep your damaged area secure while you mend. This simple multi-pack will do the job nicely! You’ll need them when stitching sashiko embroidery and adding patches.
Scissors

A good pair of scissors is a must when it comes to mending. You’ll need them to snip away frayed threads, finish off your stitches and cut out fabrics.
We’ve rounded up the best sewing scissors and the best embroidery scissors for you to choose from. Sewing scissors are best for cutting fabric to make patches, while embroidery scissors are tiny enough to snip away loose threads in small holes.
Darning mushroom
Darning mushrooms have been used for hundreds of years. Often made from wood, darning mushrooms are designed to provide a stable surface on which to repair your garment.
Slip your mushroom under your garment where the hole is and pull your fabric over the top of the mushroom. Your fabric will now be taught and your rip/hole easier to fix!
Embroidery hoop
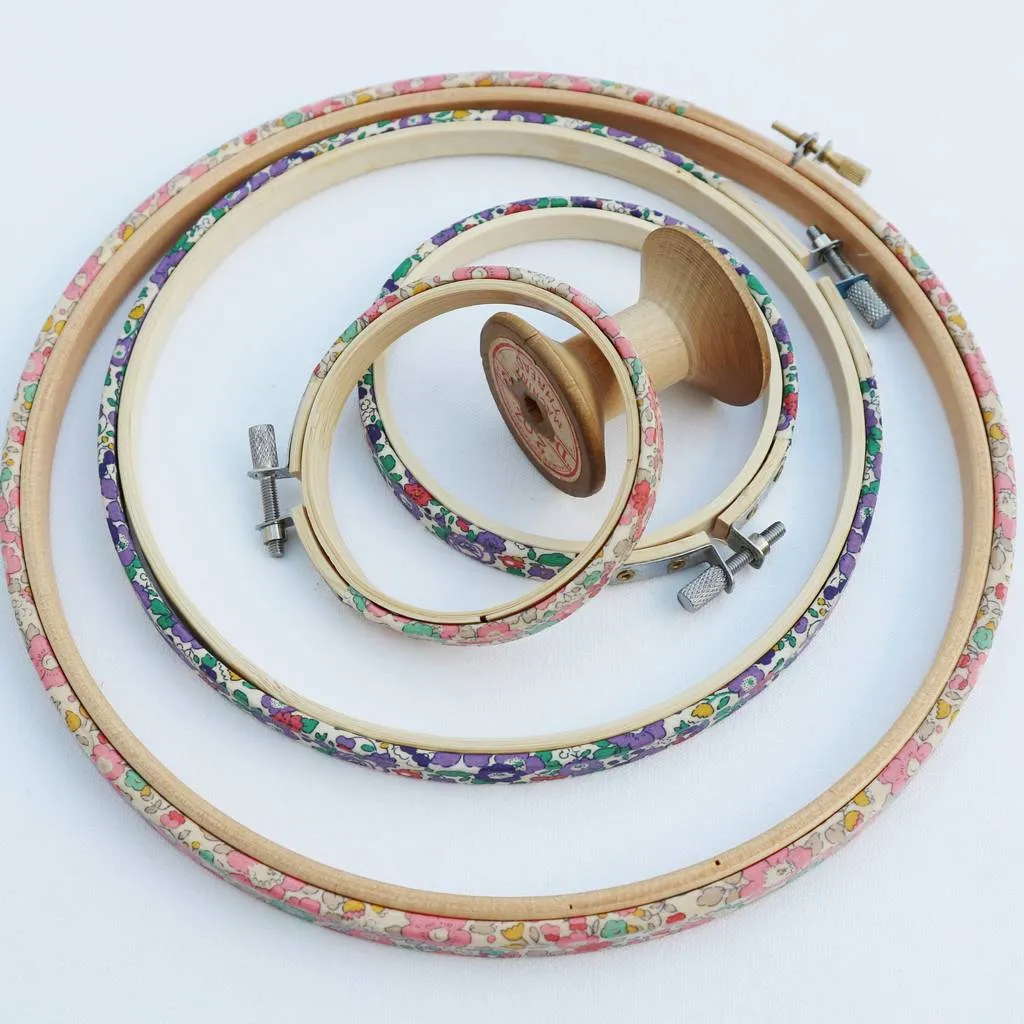
Just like darning mushrooms, embroidery hoops help you to focus on your damaged fabric. They also help to keep your fabric taught, which allows you to create more precise and accurate stitches.
To find the right embroidery hoop for mending clothes, head over to our collection of the best embroidery hoops.
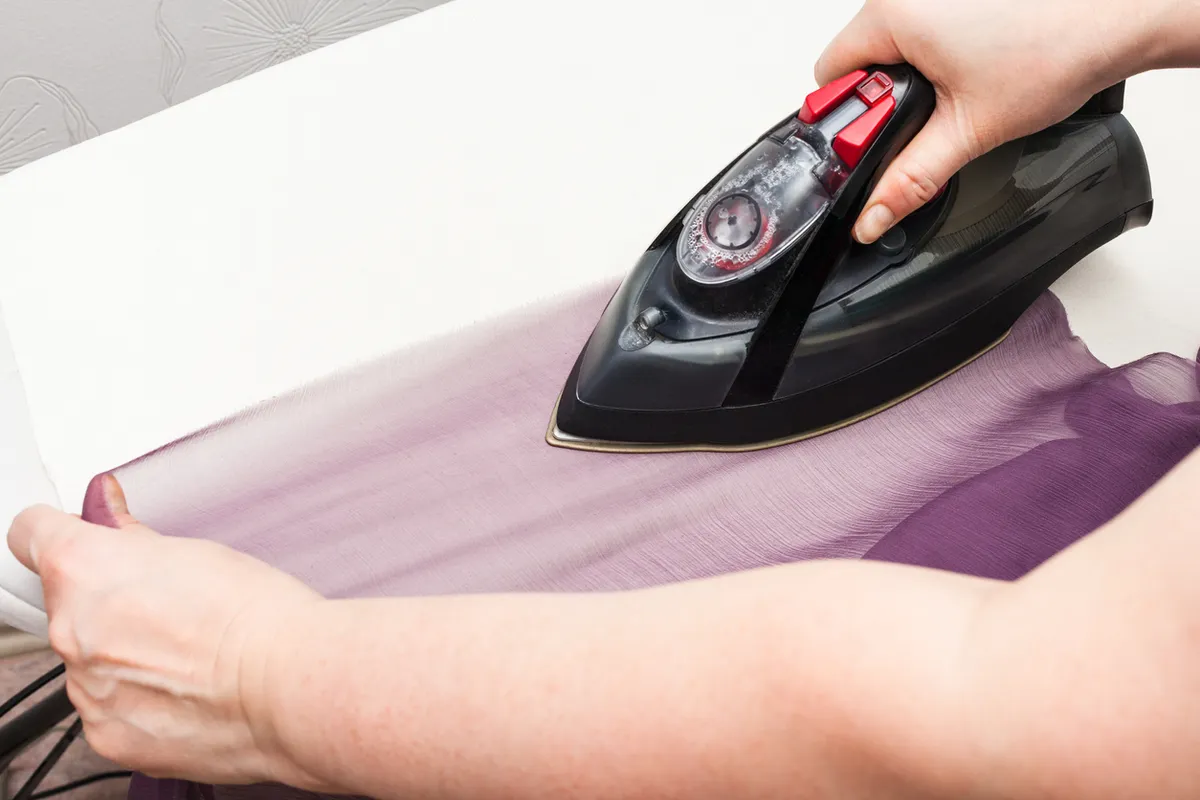
Mending tape
Mending tape is a quick and efficient way of mending your clothes. It’s ideal for fixing hems, applying appliqué or adding patches.
Simply cut a strip to the size of your hem/patch and iron it on. The iron will cause the tape to mend, fusing the pieces.
Wundaweb is a great no-sew option for those who struggle with hand sewing.
Iron
Irons are a must when it comes to mending. You’ll need one to apply patches, use Wonderweb or finish off mended pieces.
Head over to our collection of the best irons for sewing and quilting to pick one up. We also have a round-up of the best ironing boards.
Fabric
Finally, it’s always handy to have spare fabric in your stash. This can be scraps from old projects, old garments which can be reused, or charity shop fabric finds.
Fabric can be turned into fun patches or used to reline and repair. If you’re on the hunt for some new fabrics, check out our collection of the best online fabric shops, which include Christmas fabrics, spring fabrics and much more.
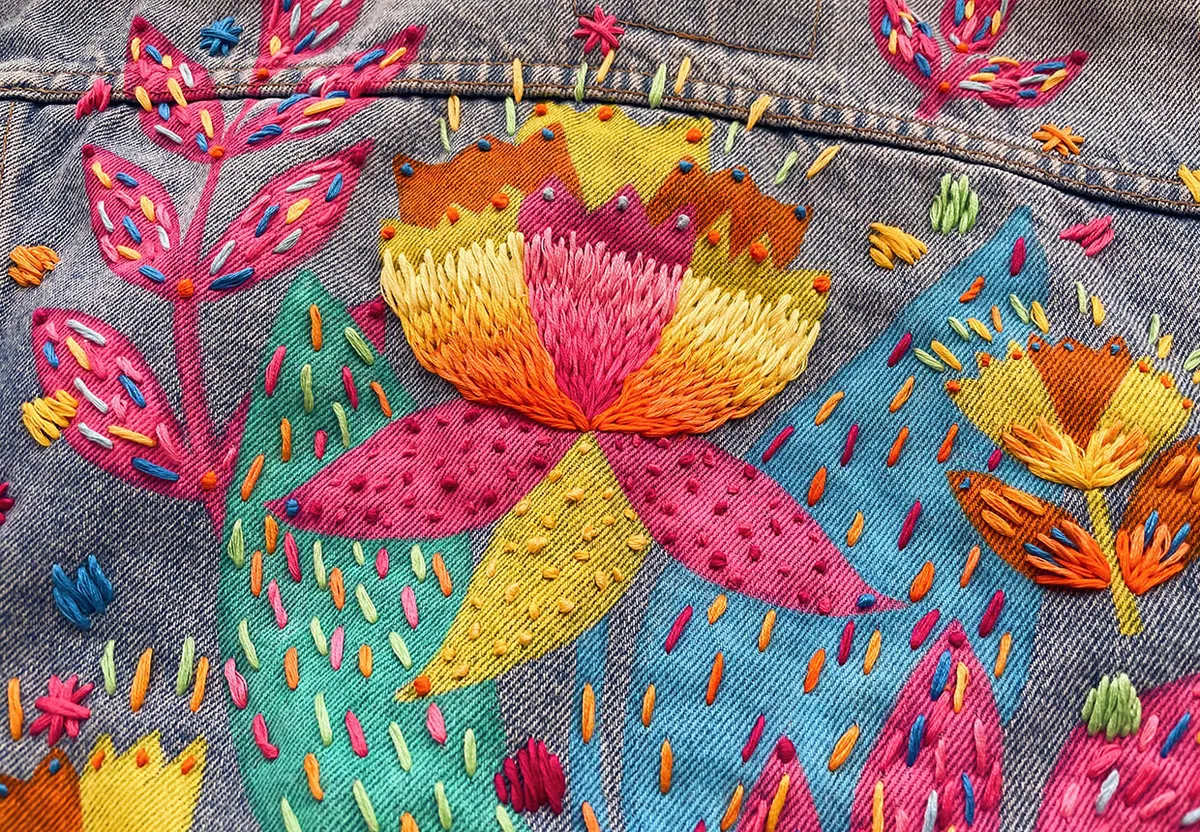
Visible mending for clothing
Visible mending is a technique of mending clothes that aims to make a statement and add something extra special to your garments. It’s about being bold, colourful, and refusing to blend in!
There are plenty of different visible mending techniques out there. We’re going to cover a range of methods, including everything from patches and embroidery to the Japanese art of mending.
Learn how to do visible mending
Visible mending is a technique that can be used on a huge range of garments and accessories. It’s completely customisable too; choose your favourite thread colours or ones that contrast with the colour of your garment to make it really stand out.
We show you how to do visible mending so you can add a splash of colour to your pieces.
Mending patches for clothes
Another form of visible mending is using patches. Patches are an ideal way of covering up a huge range of marks, stains and rips. There are so many patches on the market aiming to add glitz and decoration to your pieces.
The first type of patch we’re going to talk about is those you can iron onto your garments.
Iron-on mending patches for clothes
Iron-on patches are a fantastic, quick fix. Once you’ve found your perfect iron-on patch, here’s how to apply it to your clothing.
How to use iron-on patches
- Remove your patch from the packaging (always remember to read the instructions that come with your specific patch, as many have heat requirements.)
- Place your iron patch onto your garment, covering the damaged area.
- Press your iron firmly on top of the patch for 30 seconds. Don’t use the steam setting or get your patch wet.
- Allow your garment with its new patch to cool completely.
- For extra security, turn your garment inside out and do the same on the other side of the patch. This will ensure it stays in place.
Create your own patches
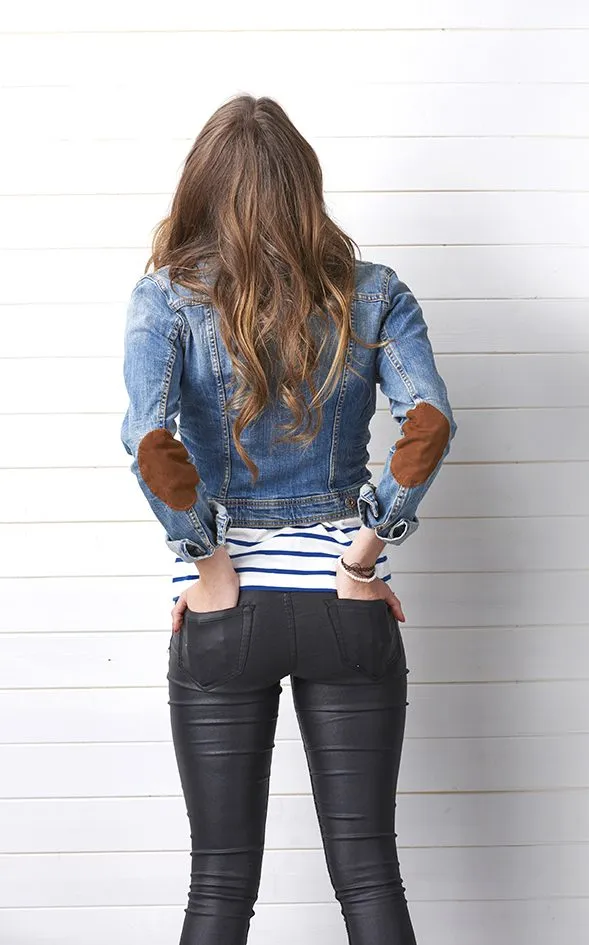
Can’t find a patch you like? Why not make your own? We show you how to turn scrap fabric into this funky patch in our how to sew on a patch tutorial. This is a wonderful way of mending clothes that’s both cost-effective and zero-waste.
The Japanese art of mending clothes
One of our favourite forms of mending clothes has to be the ancient Japanese methods. Sashiko, Kintsugi and Boro are the three most well-known forms of Japanese mending.
These visible mending techniques have grown in popularity recently, all focusing on the beauty of fixing broken items. Kintsugi focuses on mending broken pottery, but Sashiko and Boro are directly related to mending clothing.
Sashiko mending
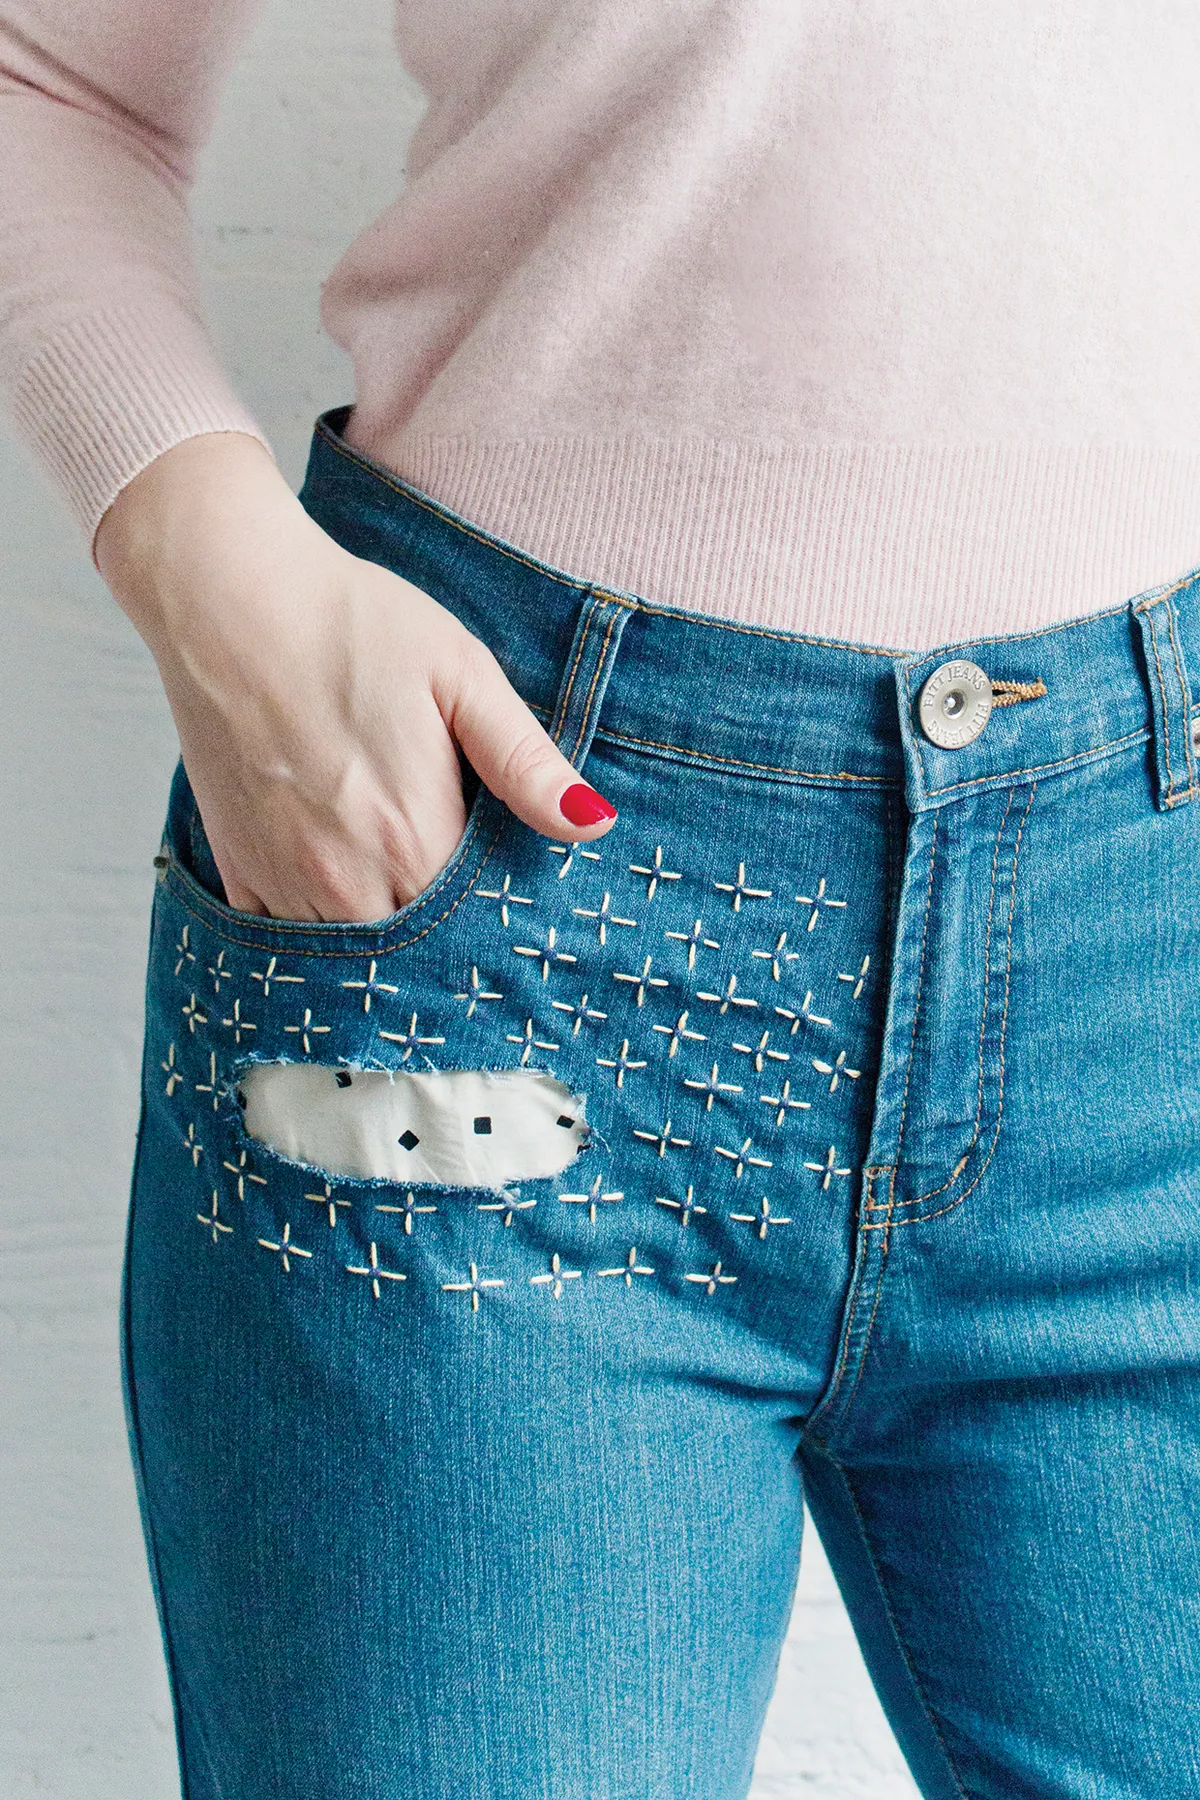
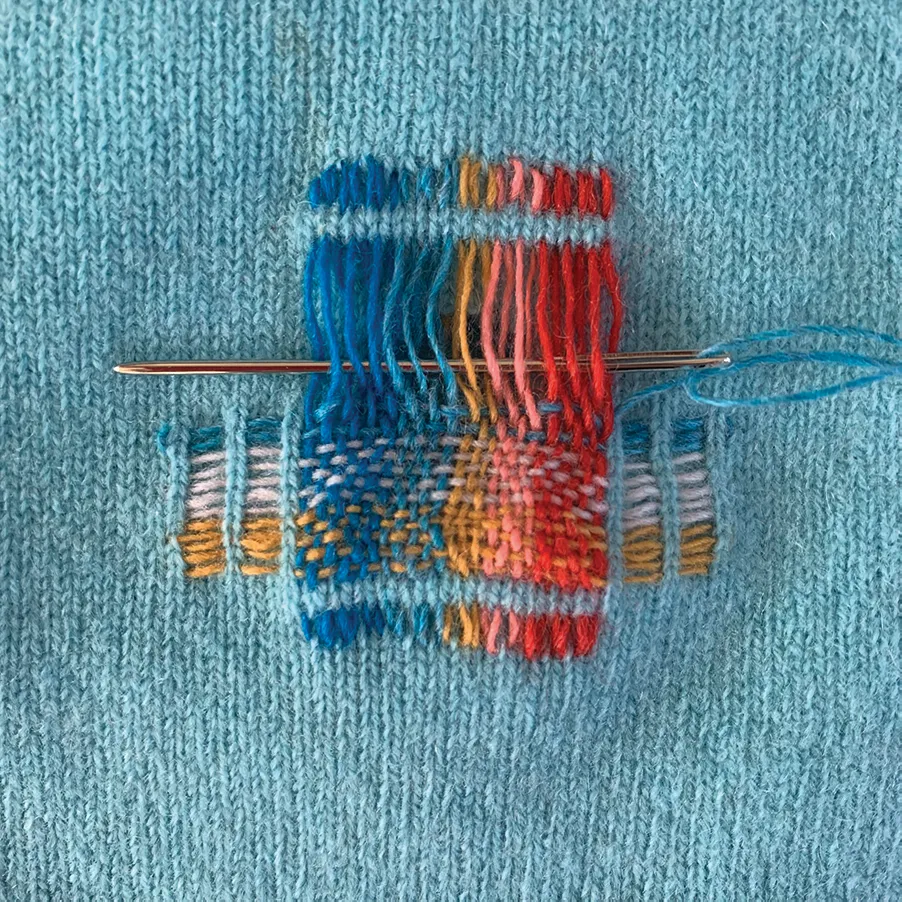
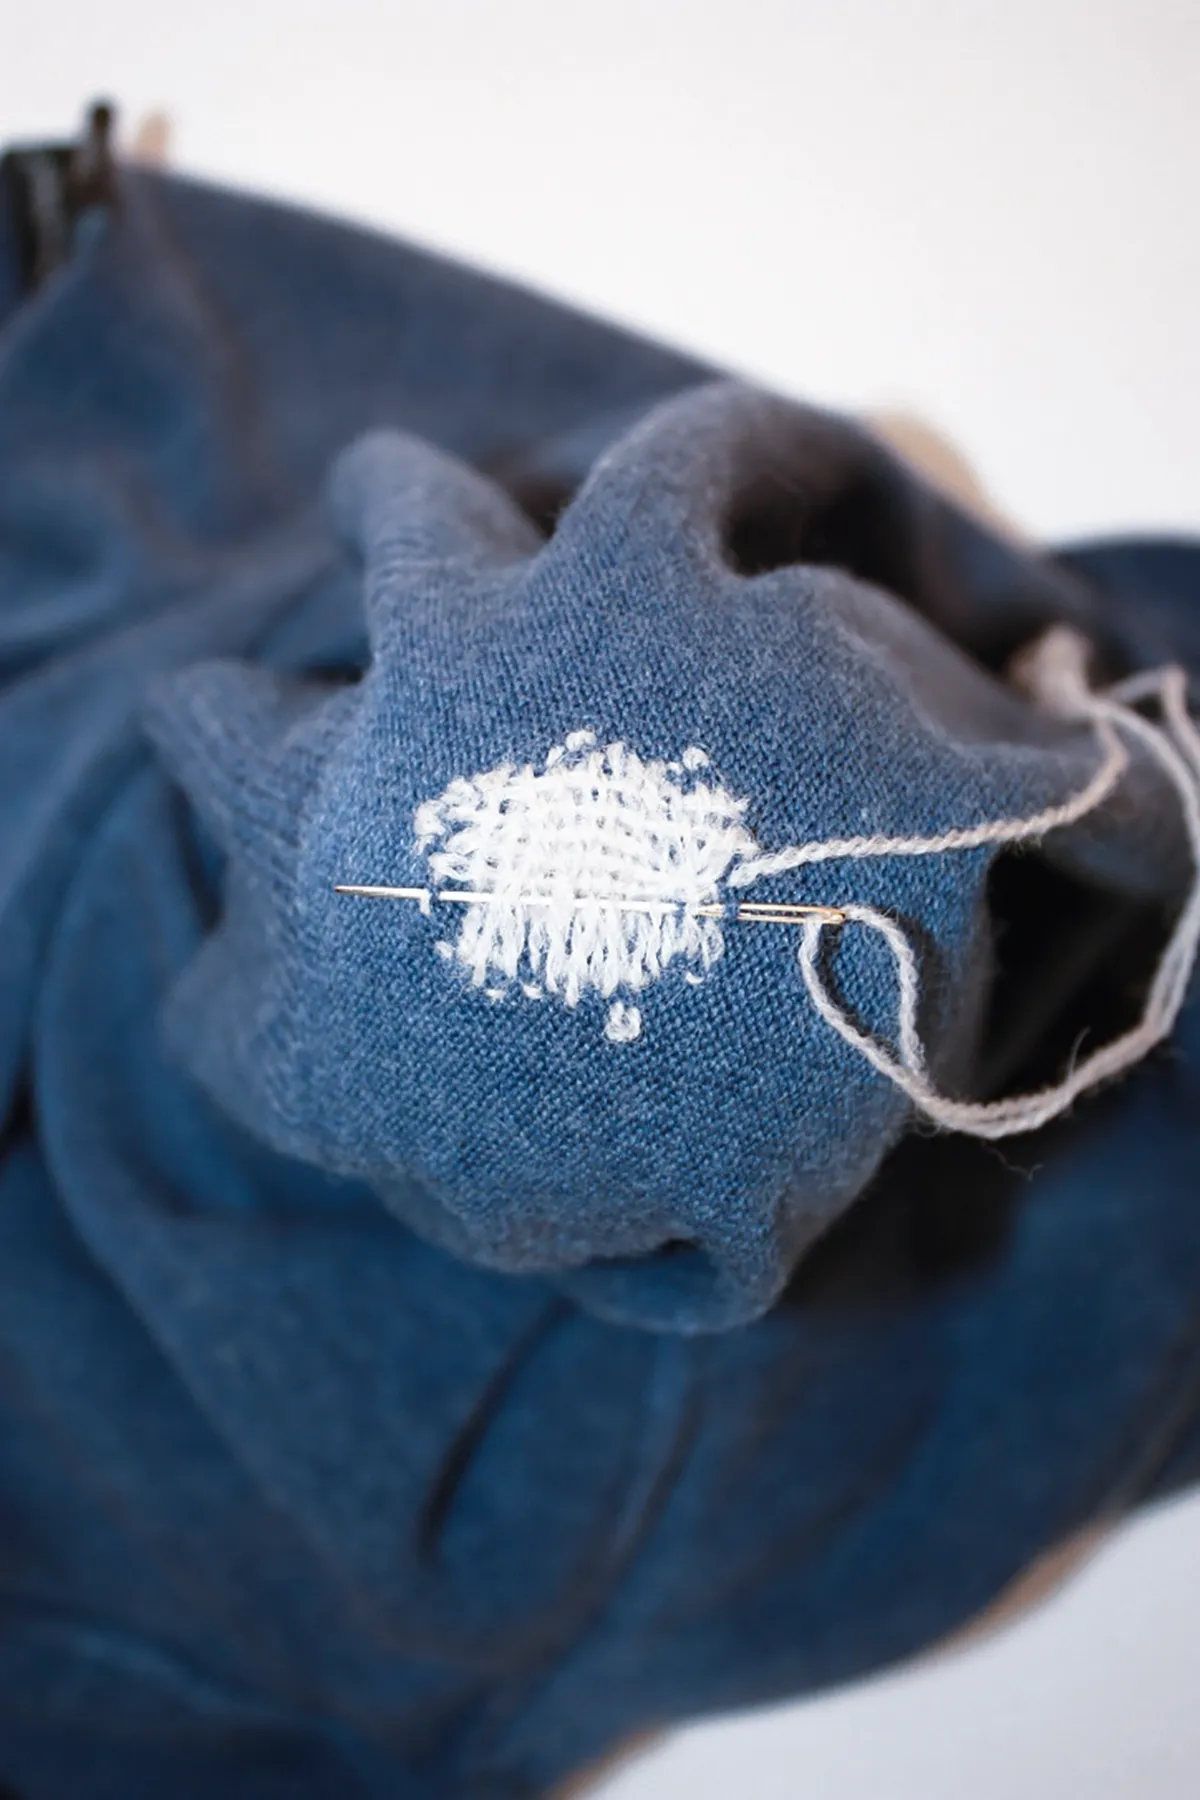
Sashiko embroidery is one of the most popular Japanese mending techniques, which relates to mending clothes. It uses a repeating embroidery stitch to create intricate patterns which cover marks, stains and rips.
We have a complete tutorial on how to do sashiko mending. In our tutorial, we show you how to create these white stitches to hold a patch in place. This technique can be used on any garment.
Boro mending
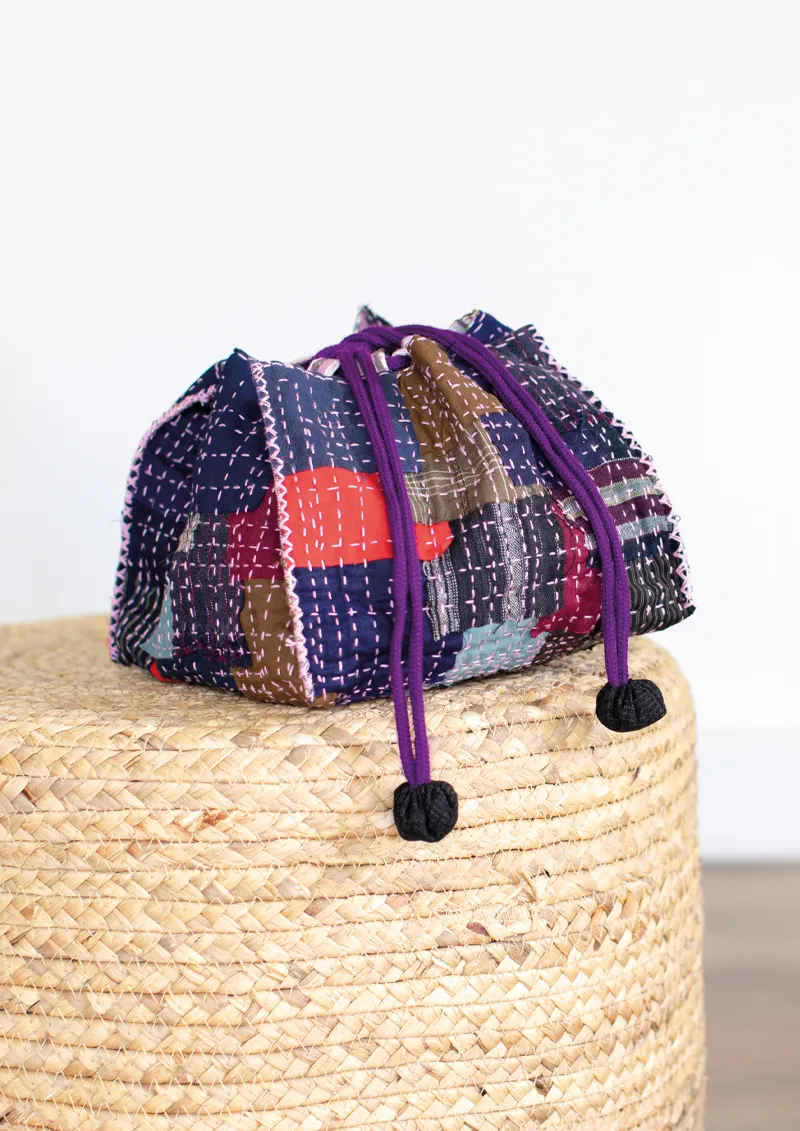
Boro is quite similar to sashiko mending. It’s another stitching technique that involves patching textiles together to make something new.
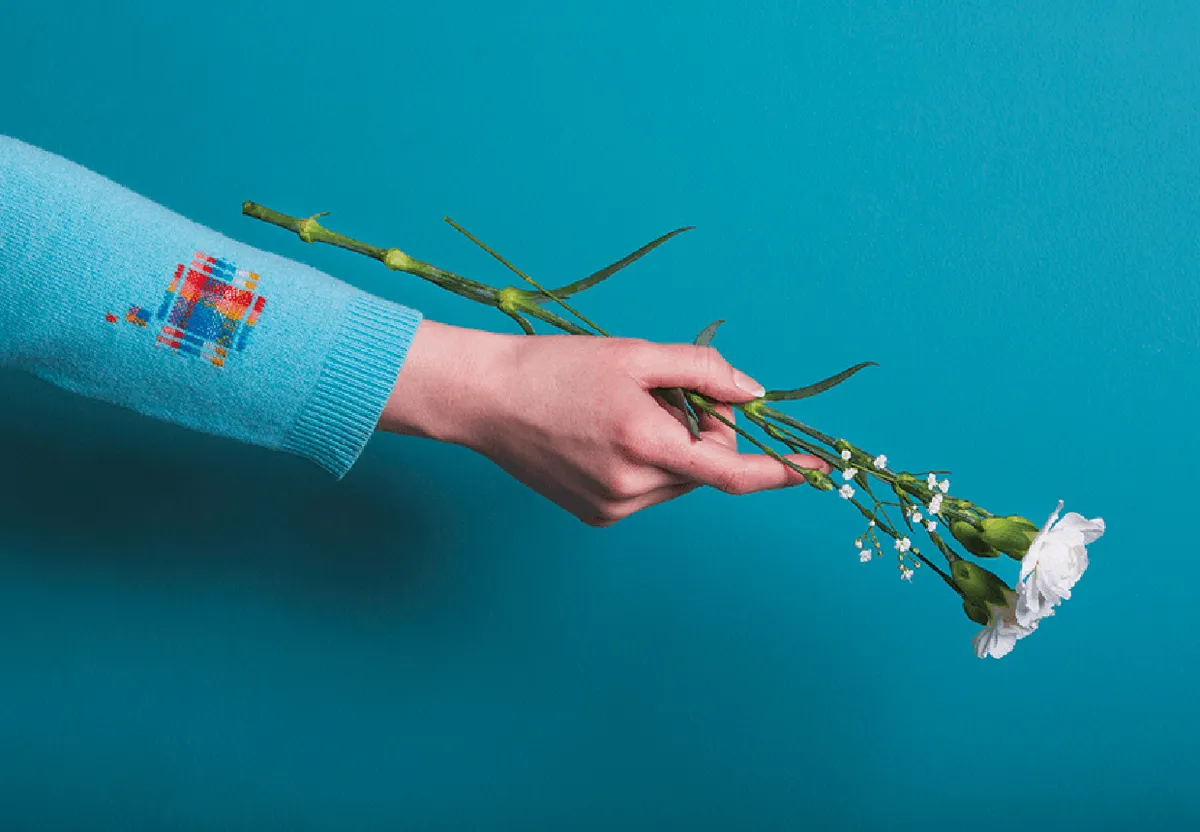
Mending clothes with embroidery
Embroidery is another incredible form of visible mending. It can cover all sorts of marks and gives a new dimension to any outfit.
Add embroidery to your outfits
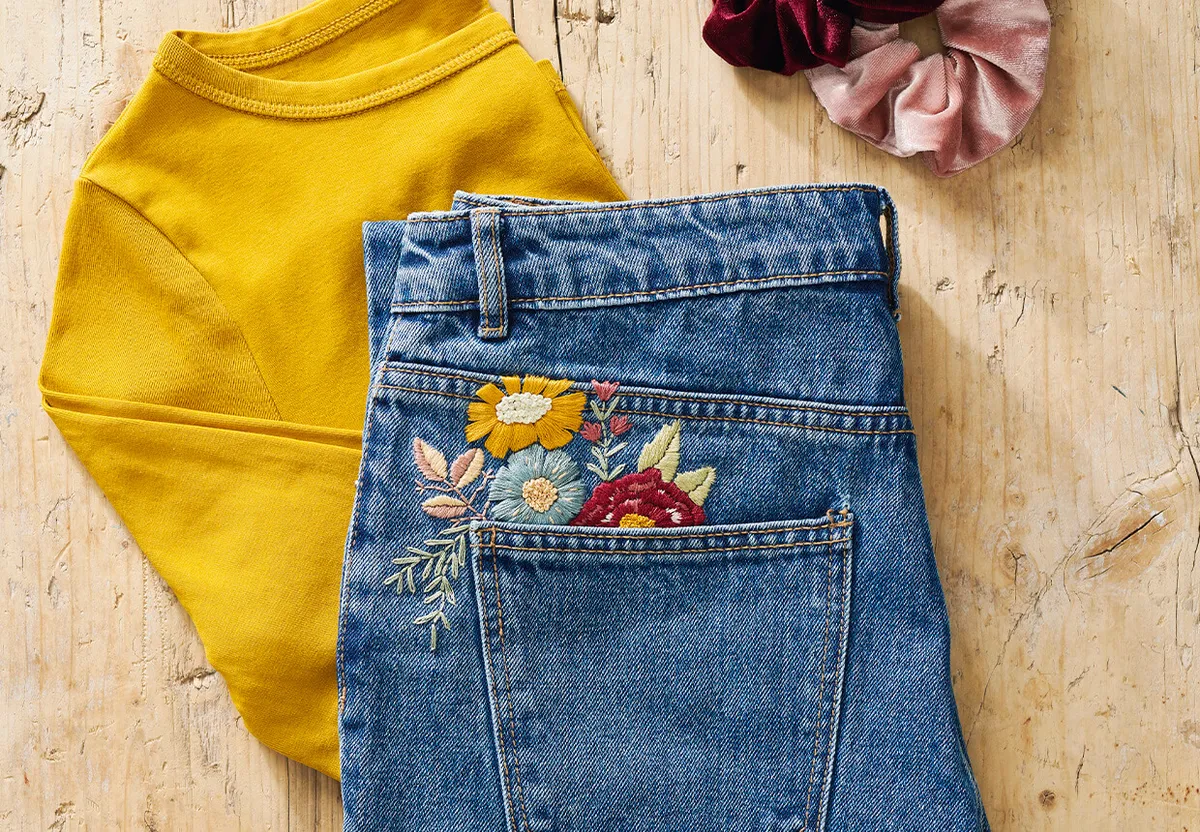
It's easy to upgrade your garments with embroidery.
How to do invisible mending on clothes
Invisible mending is used to fix garments in the most discreet way possible. You can use many similar techniques to those in visible mending; the key is to find a thread/fabric which matches your garment identically.
Once you’ve found the perfect match, you can start mending!
Mending rips in clothes
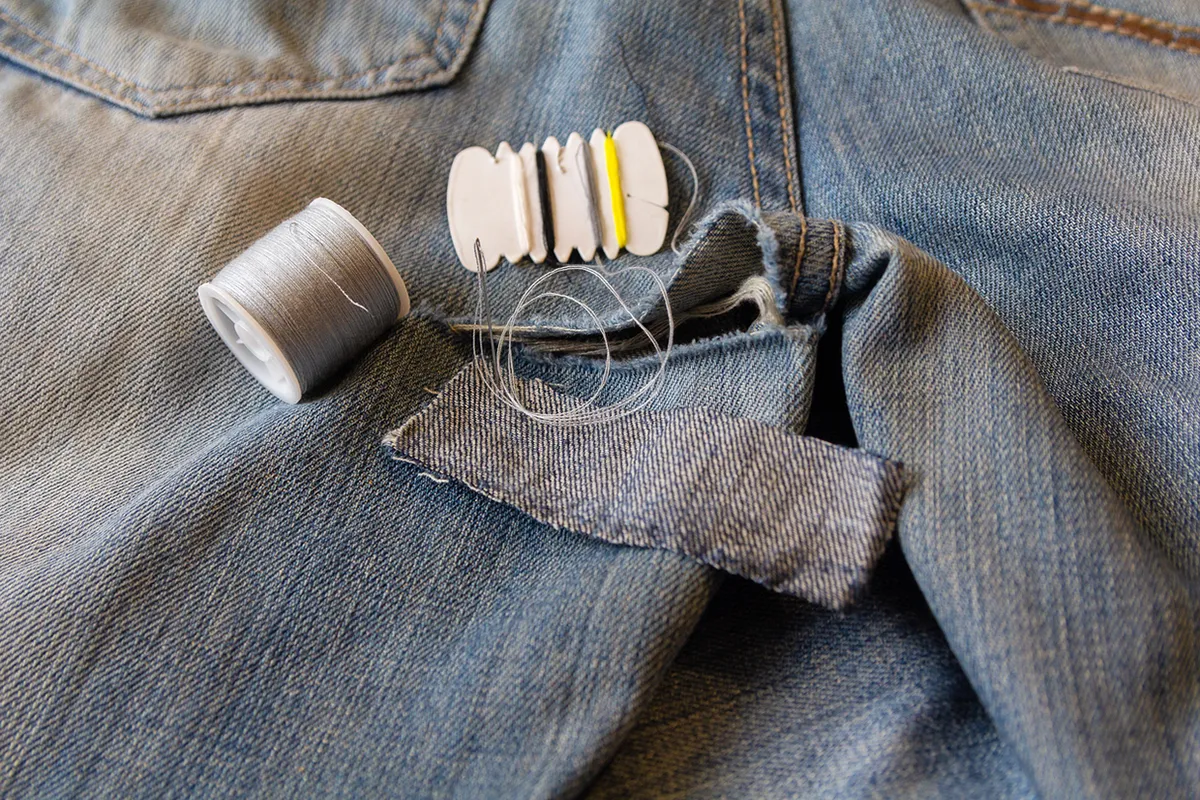
Fixing a rip in your clothing is much easier than you think! All you need are a few basic supplies and a very basic knowledge and hand sewing.
For those of you who have never used a needle and thread before, read our how to thread a needle tutorial first.
How to mend a rip
- Iron your garment and trim away any loose, fraying threads
- Pin a strip of fabric behind your rip. This will act as reinforcement and stop your rip from splitting further while you mend
- Thread your needle and tie a knot at the bottom of one end of the piece of thread.
- Put your arm into your garment and bring your thread up through the fabric, right at the top of your stitch
- Bring your needle and thread down on the other side of your rip and pull too close
- You will now have a tiny stitch at the top of your rip
- Repeat this method all the way down your rip
- At the end, snip your thread and tie it off with a small knot
- Your rip will now be closed!
How to mend a rip in knitwear and crochet garments
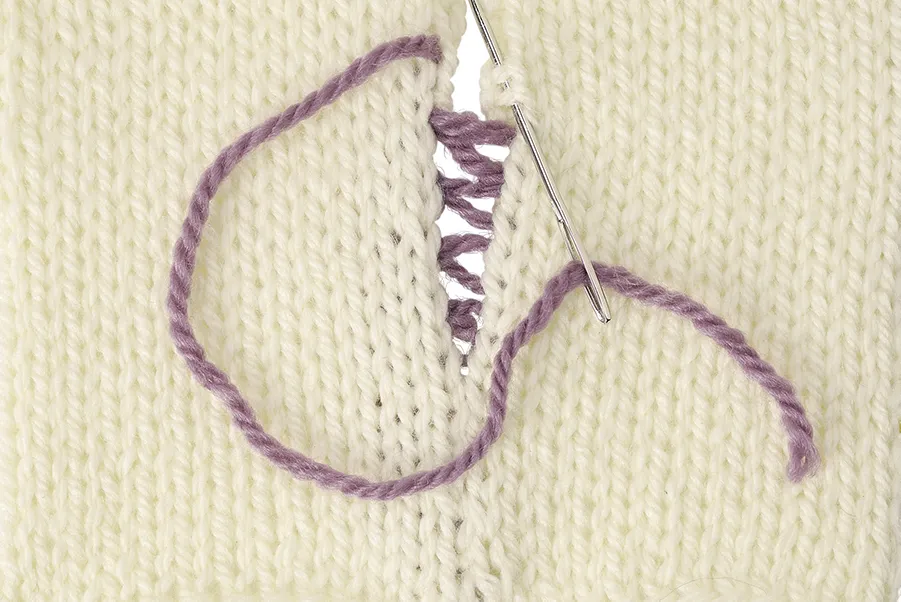
If your garment is crocheted or knitted, then you will need to use a mattress stitch to close the rip.
Mending holes in clothes
Fixing holes in your items is simple. We show you how to sew a hole, both a large and a small one, in our step-by-step tutorial. We’ve used white thread to demonstrate the stitches we’re making, but you can use a thread colour that matches your garment.
Bonus: mending clothes techniques
Fix a button
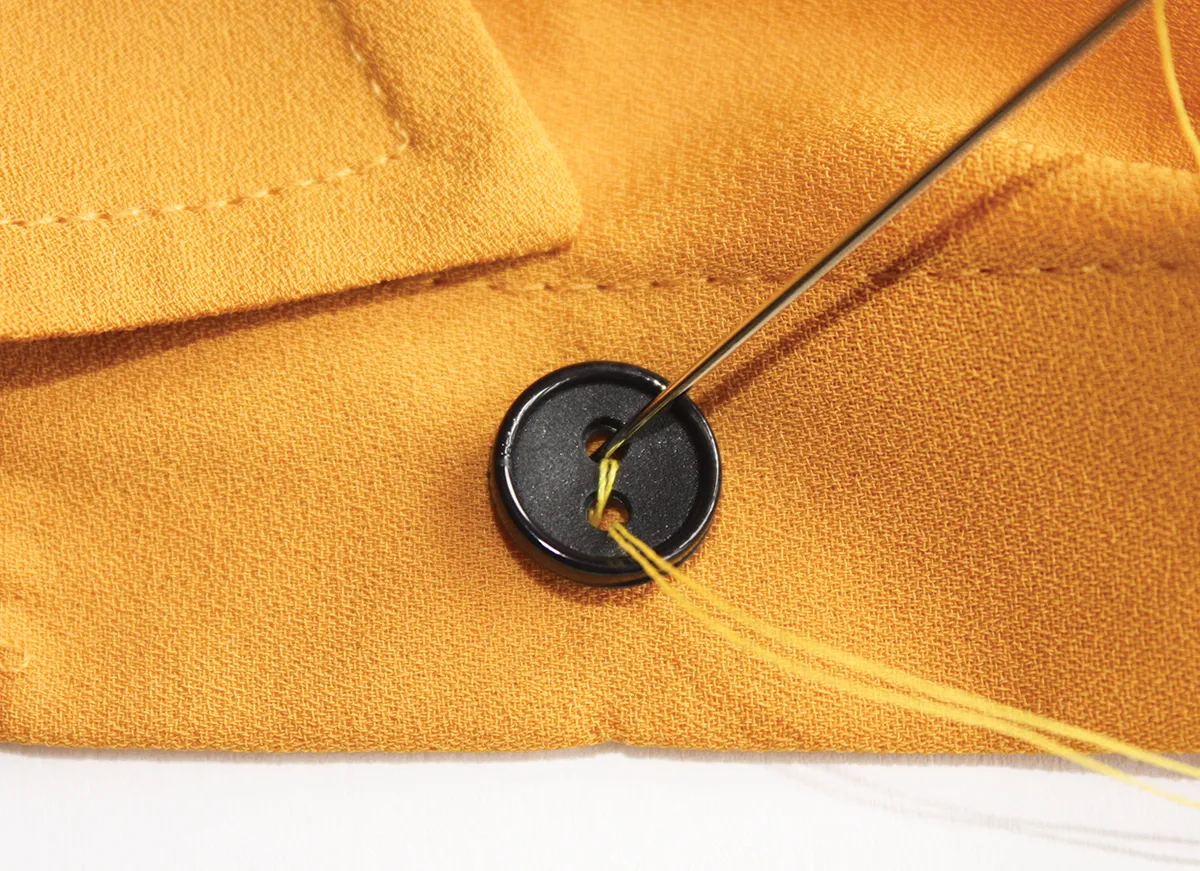
Learning how to fix a button is an invaluable mending skill. Buttons often fall off jackets and jeans, and most clothing items will come with a spare button attached to the label.
Use our how to sew a button tutorial and master the art of button mending.
How to hem clothing
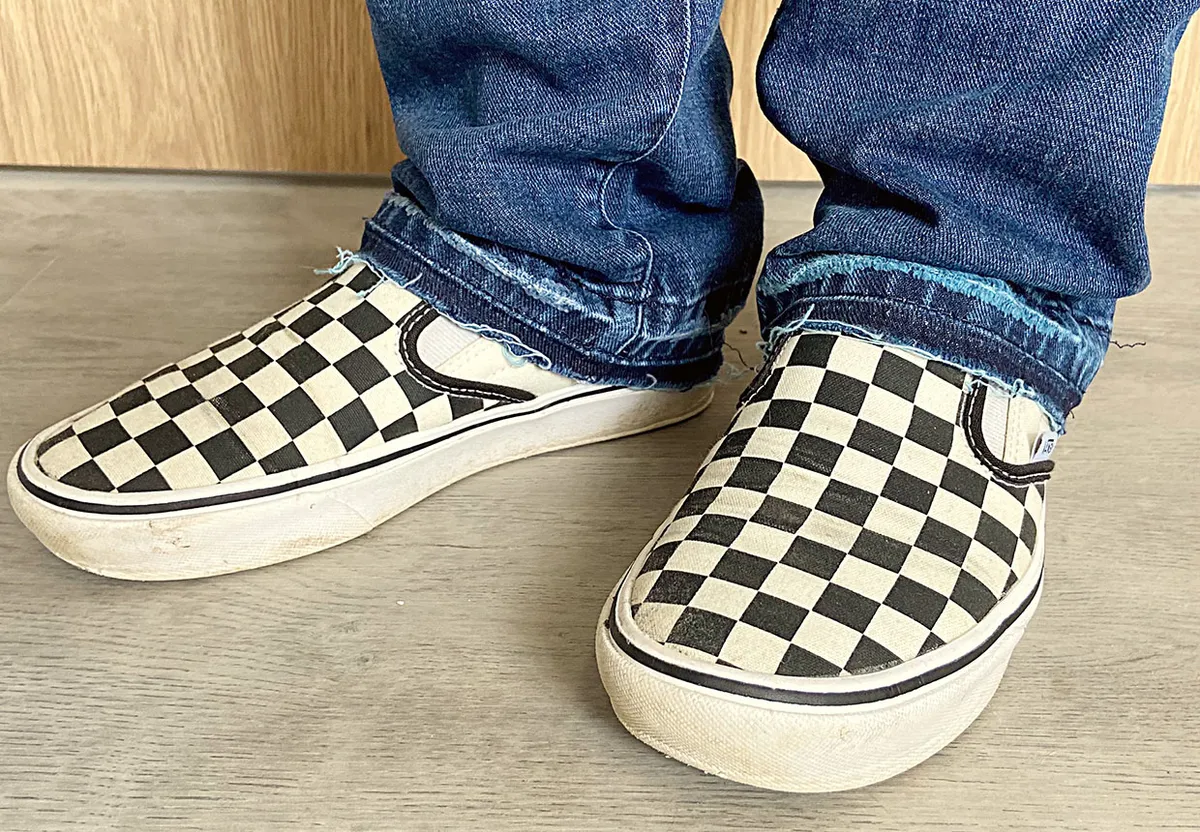
Once you know how to hem clothes, you’ll be able to adjust garments easily. Hemming is also great if the bottom of your trousers is damaged, as you can give them a nice, neat finish.
Follow our how to hem pants tutorial and start making your clothes fit you.
How to dye clothing
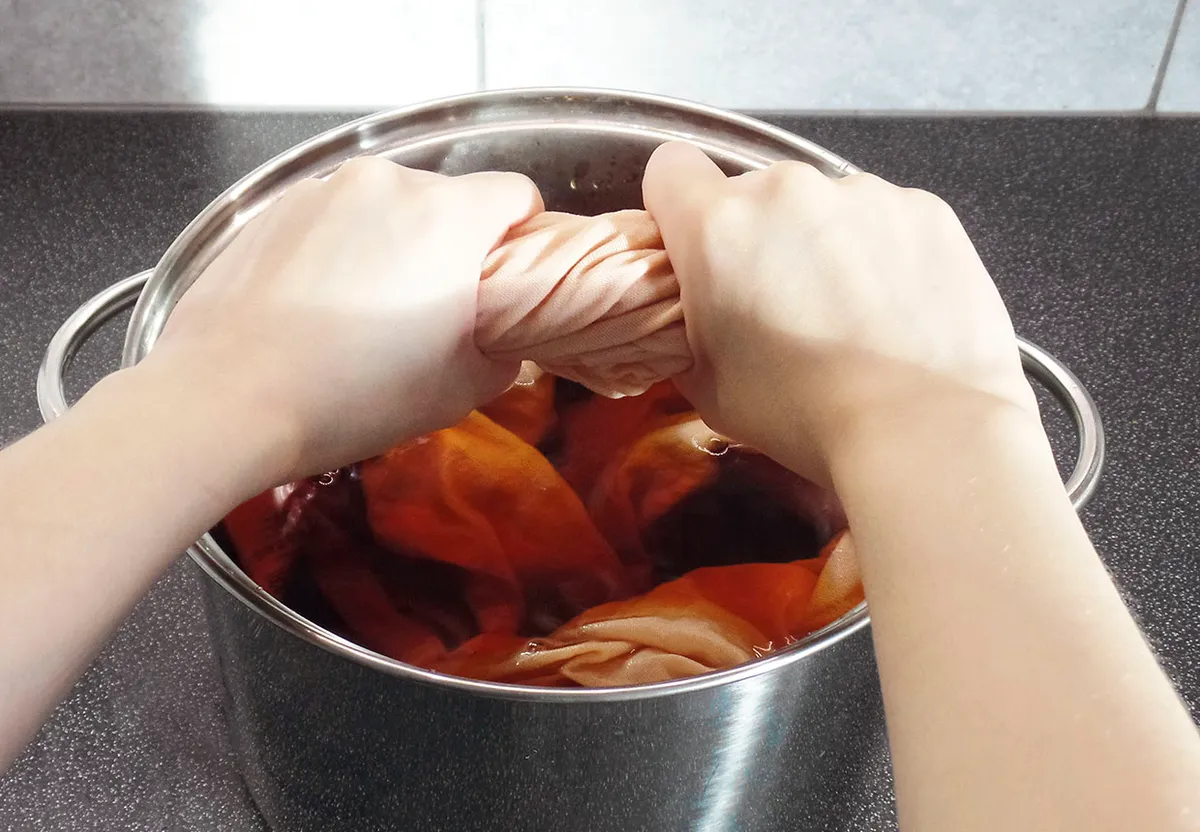
Dyeing your garments can totally transform them and cover all types of stains and marks.
Stitch, fix and mend!
Mending clothing is about much more than just making an item wearable again. It’s about taking time to appreciate your clothing and invest back into well-loved pieces.
Whether you choose to do invisible mending or opt for the visible mending route, learning how to mend your clothes is a priceless skill that you can teach to generations to come. Sustainable sewing and slow fashion are the future!
Clothes beyond repair?
If your pieces are too damaged to fix, why not turn them into something else? Here are upcycling clothes ideas to help you turn trash into treasure.