How to make a clutch bag that's perfect for the festive season
Take your Christmas party outfits to the next level by stitching this stunning clutch pattern designed by Debbie Wainhouse. It's the perfect accessory for any gathering, and it's big enough to hold your makeup, phone or anything else you need to bring with you!
It would also be a fabulous accessory to bring to a special event, such as a wedding or a celebration. This clutch bag sewing pattern would make a lovely gift, too!
In this clutch purse pattern, we'll show you how to create this beautiful rippled effect on your bag with Debbie's step-by-step guide. We've used gold fabric for a festive feel, but you could make it in any colour that you love.
This pattern was first published in Simply Sewing Magazine. Simply Sewing is a practical magazine for those who sew or want to learn. It's packed with lovely sewing projects to make and expert sewing tutorials to boost your skills.
If you're new to sewing, take a look at our sewing for beginners and how to use a sewing machine guides before you get started. You can also stock up on supplies with our sewing kits for beginners and best sewing machines for beginners guides.
Read on to learn how to make Debbie's clutch bag pattern.
Notes
- Seam allowance is 1cm unless otherwise stated
- You may want to change your needle to a heavy-duty denim needle to sew through the layers of faux leather.
What you'll need
- Faux leather fabric (65x50cm)
- Cotton fabric (65x50cm)
- Metal zip (30cm)
- Fabric clips
- Matching thread
- Basic sewing kit
Cutting out
Step 1
From the faux leather fabric cut:
- Outer: two 32x22cm
- Frill: 64x19cm
Step 2
From the cotton lining cut:
- Lining: two 32x22cm
Making the frill
Step 1
Take the Frill piece and lay it onto one of the Outer bag pieces. Use sewing clips to concertina the fabric into folds so that it fits onto the main bag piece. Ours has six pleats spaced approximately 2.5-3cm apart, but you can make as many or as few as you like.

Step 2
Cut a curved wedge from the right-hand side of the frill, 8cm up from the bottom of the frill and curving down to the other side, so you end up with an asymmetric ruffle.
Step 3
Staystitch the frills in place all the way around the edge 5mm from the edge so that when you sew the bag pieces together, the ends of the frill will be enclosed in the seam. Stay stitching at this stage makes it easier to sew the zip in place, as the frills won’t shift around. This piece is now your Bag Front.

Making the bag
Step 1
Place one end of the zip right side (RS) down onto the Bag Front on top of the frill edge. Then place the Lining fabric over the top so the zip is sandwiched between the layers. Clip in place and stitch using a zip foot.

Step 2
Fold the Lining out and topstitch the Lining to the zip tape and faux leather hem. Ordinarily, you would fold it all over and topstitch the front to the back, but that would squash the frills and might be too thick to go through your sewing machine.

Step 3
Repeat for the Bag Back and other Lining piece, and topstitch the lining in the same way. Open out the bag so that your faux leather pieces are RS together and your lining pieces are RS together.
Step 4
Open your zip halfway so you can turn the bag through after stitching. Sew all the way around, leaving a gap of approx. 17cm at the bottom of the bag lining. Clip each of the four corners, making sure not to cut through your stitching.
Step 5
Turn the bag through and poke out each corner. Check you are happy with your sewing and then stitch the gap in the bag lining closed with a scant 2mm hem in matching thread or slip stitch for an invisible finish.
You’re all done! We hope you enjoyed making this glamorous clutch pattern.

A clutch bag perfect for Christmas
This lovely clutch bag would make the perfect finishing touch to your Christmas party outfit this year – you'll be the belle of the ball.
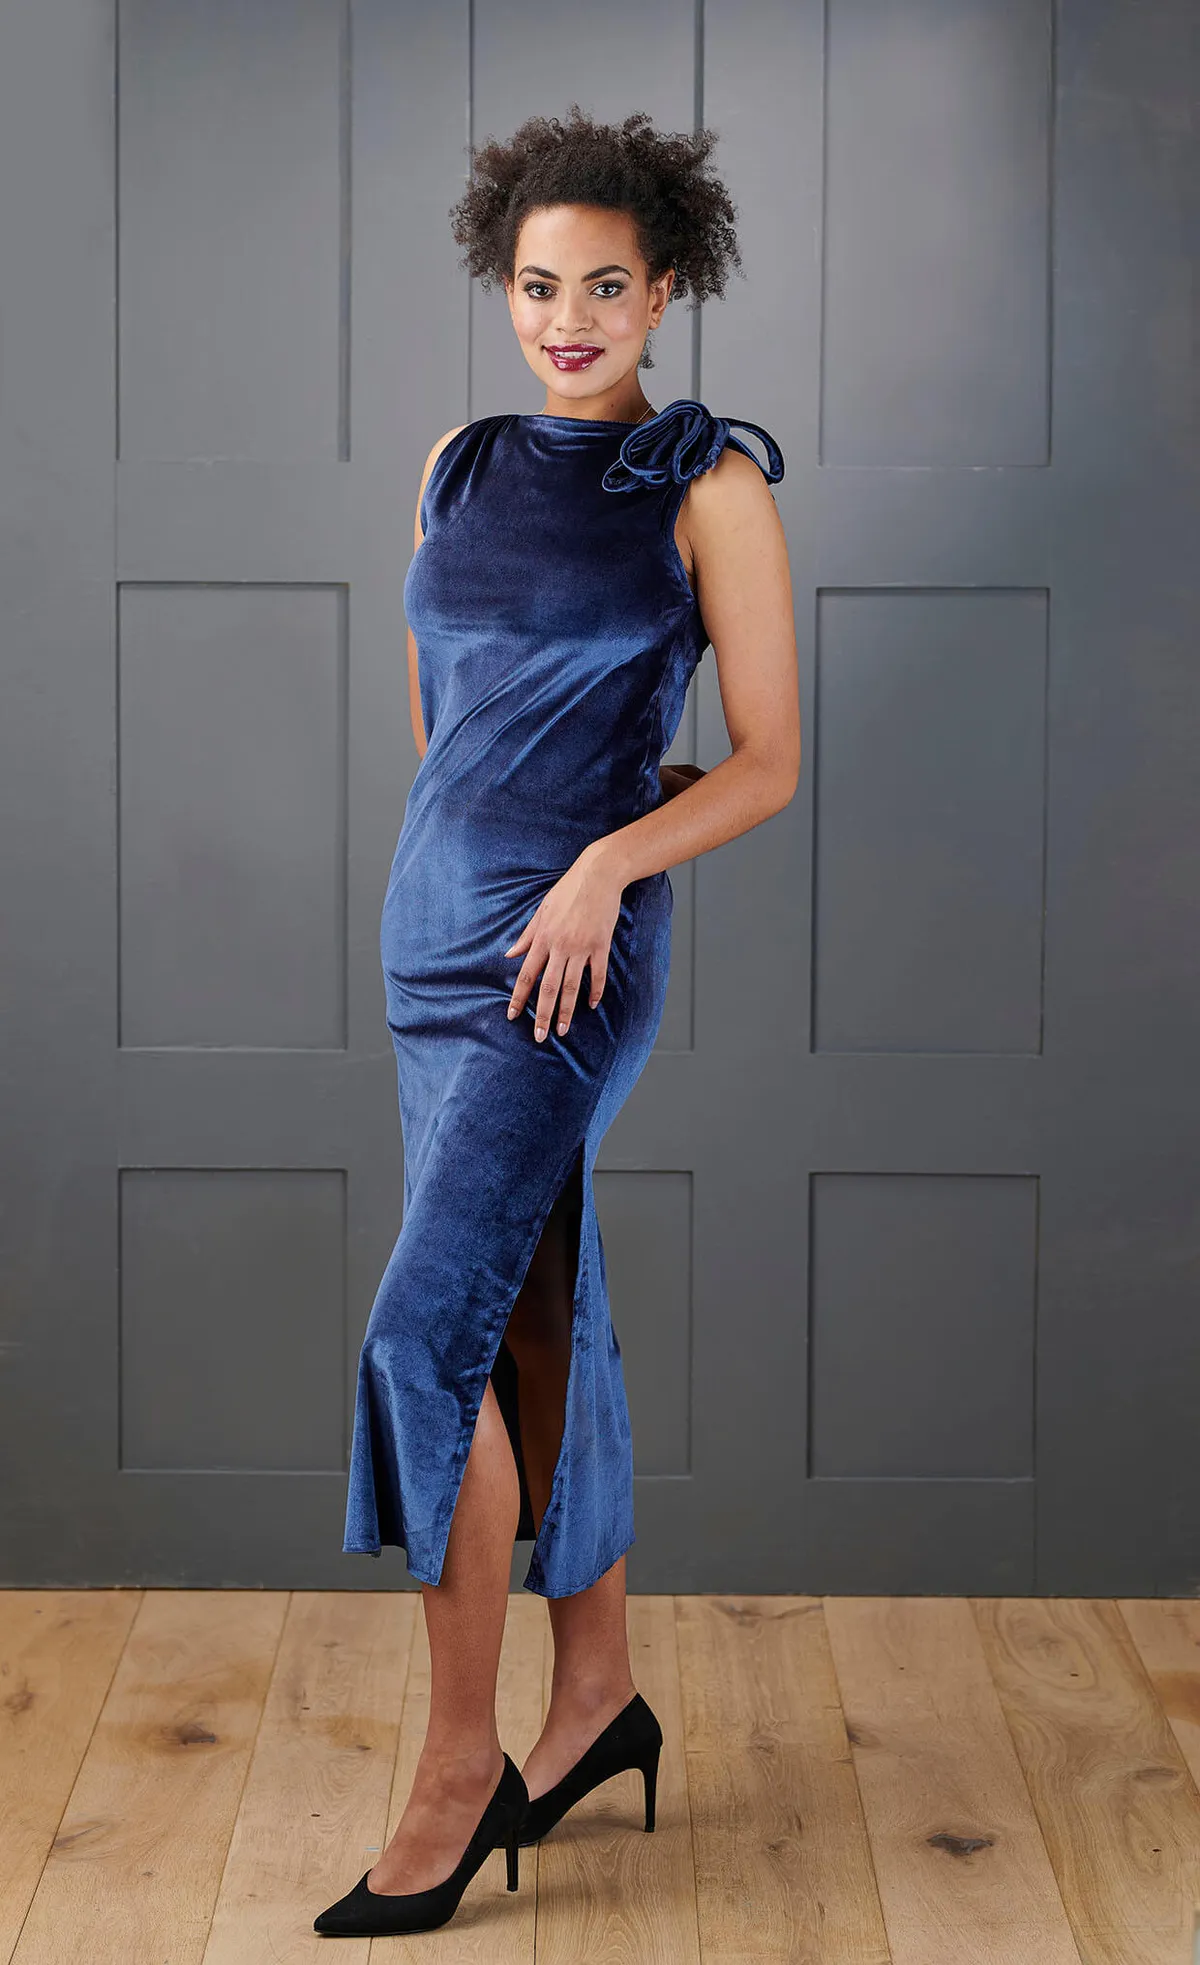
Make your own festive gown
If you're feeling adventurous and want to make your whole outfit, have a go at making our free velvet evening dress pattern.